|
|
|
# Creating a new TDL project
|
|
|
|
|
|
|
|
From the file menu select New and in the sub-menu select Project. In the New Project dialog box select either the
|
|
|
|
TDL or TDLtx option to create either a TDL model using the TDL graphical notation or textual notation respectively.
|
|
|
|
|
|
|
|
|
|
|
|
# TDL editor plugin
|
|
|
|
|
|
|
|
To create a new TDL model by means of the TDLan2 textual representation, follow these steps:
|
| ... | ... | @@ -42,3 +48,17 @@ After Eclipse restarts, you should be able to see a `W` button in the toolbar be |
|
|
|
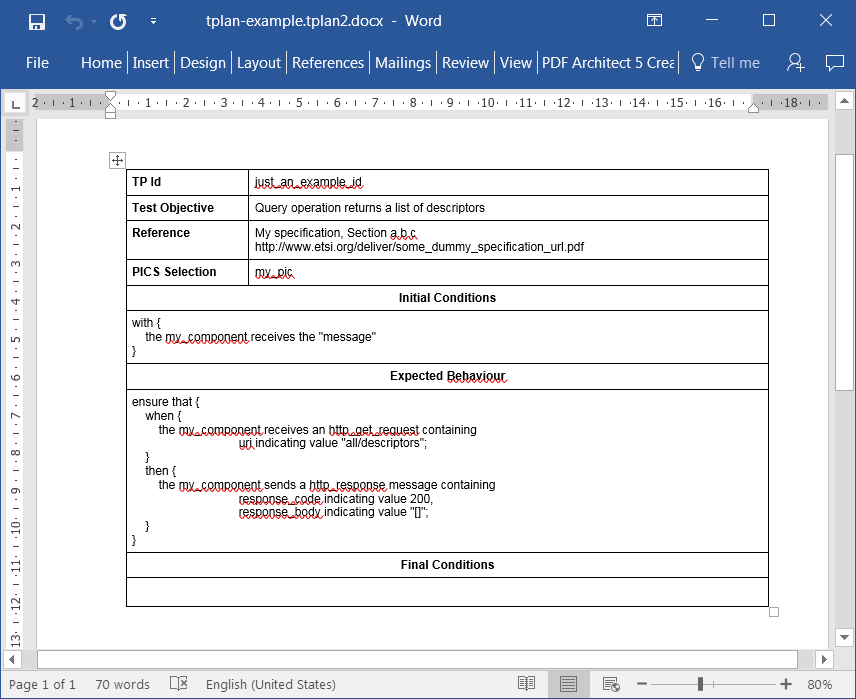
The result will look like:
|
|
|
|
|
|
|
|
[](https://tdl.etsi.org/wiki/index.php/File:Word.PNG)
|
|
|
|
|
|
|
|
# Translate TDL to TTCN-3
|
|
|
|
|
|
|
|
To tranlate a TDL model to TTCN-3 make sure to previously install the [TRex2/T3 Tools](https://t3tools.informatik.uni-goettingen.de/trac) and the components from the update site:
|
|
|
|
|
|
|
|
https://t3tools.informatik.uni-goettingen.de/downloads/trex2/
|
|
|
|
|
|
|
|
The translation from a TDL model to TTCN-3 code is done by selecting the TDL model and then press the **T3** icon in the TDL toolbar. The result of the translation is a
|
|
|
|
a TTCN-3 file with the same name as the TDL model file with the extension .ttcn3 placed in the same folder as the TDL model.
|
|
|
|
|
|
|
|
# Test execution and result analysis
|
|
|
|
|
|
|
|
[[Test execution]]
|
|
|
|
|